Celebrating simple wins in DIY
I dedicated some time recently to finally carrying out these little but drawn out tasks that would make a positive difference around my home. Kind of like a programmer addressing tech debt, and just like tech debt it can swing both ways, becoming a long term solution with 100% uptime, or temporary relief followed by performance degradation.
The three - potentially stress-free - tasks I have chosen are:
- lowering a cabinet shelf to reduce arm strain
- minimizing cable length by self-terminating CAT-6 cables
- cutting out the perfect circle in a media unit back board
Cabinet shelf
I have a laundry shelf that's a little too high. It's reachable but it's unnecessarily high up when it could sit a fraction lower. It's a waste of space and I guess reducing arm or shoulder strain would also be a plus.
Approach
The plan of attack was:
- Mark down the desired placement of the new shelf holes
- Measure the existing hole depth for the shelf supports
- Mark the depth using a skewer
- Tape the depth of the skewer onto a drill bit
- Drill into the new shelf locations, stopping at the tape
Results
The job went pretty well. The skewer depth check worked perfectly. When marking though the new holes however, I got lazy and instead of using a perfectly straight level, I eyeballed the hole positions. Who wants to run back and forth ... Well, the back left hole was positioned slightly lower (~5-10mm) than the other three.
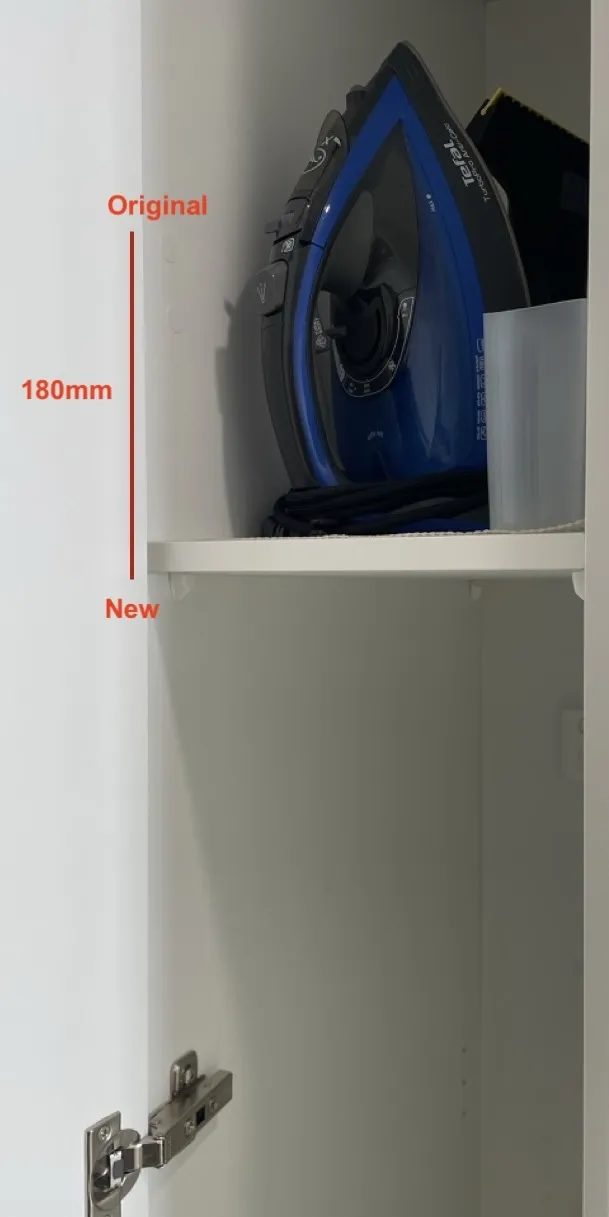
I could have simply marked & drilled another better positioned opening but I was pushed for time. I packed in a small, clear clip to balance it out. Not perfect, but lessons learned. Bring all tools. Prepare the requirements.txt, don't manage it at run-time.
Covered up the old + new holes with white caps and that was it. Job done.
Terminating data cables
I have almost 10m spare data cable lying around and wanted to finally try out my terminating skills, putting my cable repair kit to good use.
Approach
I had last terminated cables ~2.5yrs ago, which was also the very first time I performed it. All this was muscle memory, with a little help from YT. Given I had plenty of clips & cable, this felt like a safe, sandboxed test environment. My very own local aws playground. Equipped with a crimper, a wire stripper & a wire cutter I was ready to terminate.
Results
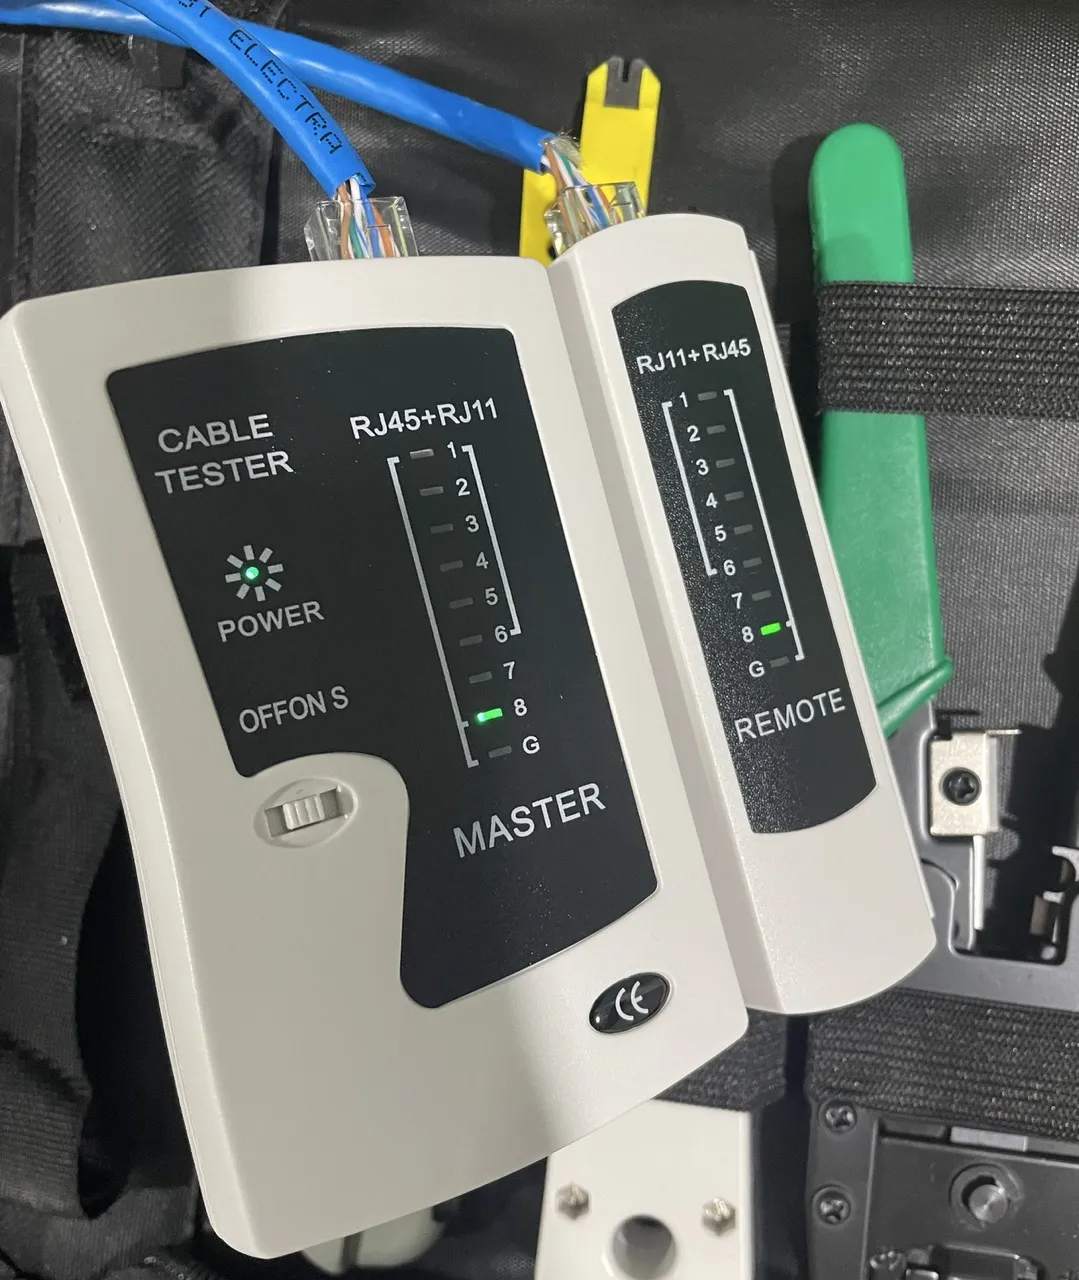
Eh, terminating skills need practice. It would probably fail compliance tests, and performance tests, but it does successfully provide data between clients.

The jacket was too short, leaving the inner wires exposed. I did find a good technique to separate the wires by using the jacket offcuts which was a massive help. No idea how people with giant hands are untangling these tiny, coloured wires.
Also, that thing sitting behind the connector on the jacket is called a 'boot'. You can see it on the yellow cable to the left in the image above. I feel like that should be called the 'jacket', or perhaps a 'sleeve'? Too late now to change the world I guess.
All in all, this is totally doable with a little more practice. I did have to spend $12, much to my dismay, for a 9V to power up the cable tester. It was all worth it though, as I proved I am one step closer to becoming a network installer homelabber by passing the network test.
Cutting with a hole saw
This one I was excited about. Having a drill bit produce a perfect circle in the back of a cabinet board. A thin, bendy board mind you.
Approach
I purchased a Ryobi carbon hole saw set, grabbed a spare plywood board & started practicing. The holes were a little rough at first, but the slower I powered the drill, the better (and smoother) the cutting was.
At this point I was ready. I removed the cabinet back board, marked the desired hole location using a template and crossed my fingers.
Results
Holy moly, a resounding success. A hole in one. The drill bit worked to perfection. I started with smaller drill bits and worked my way up to the hole saw, resulting in a safer, cleaner cut.
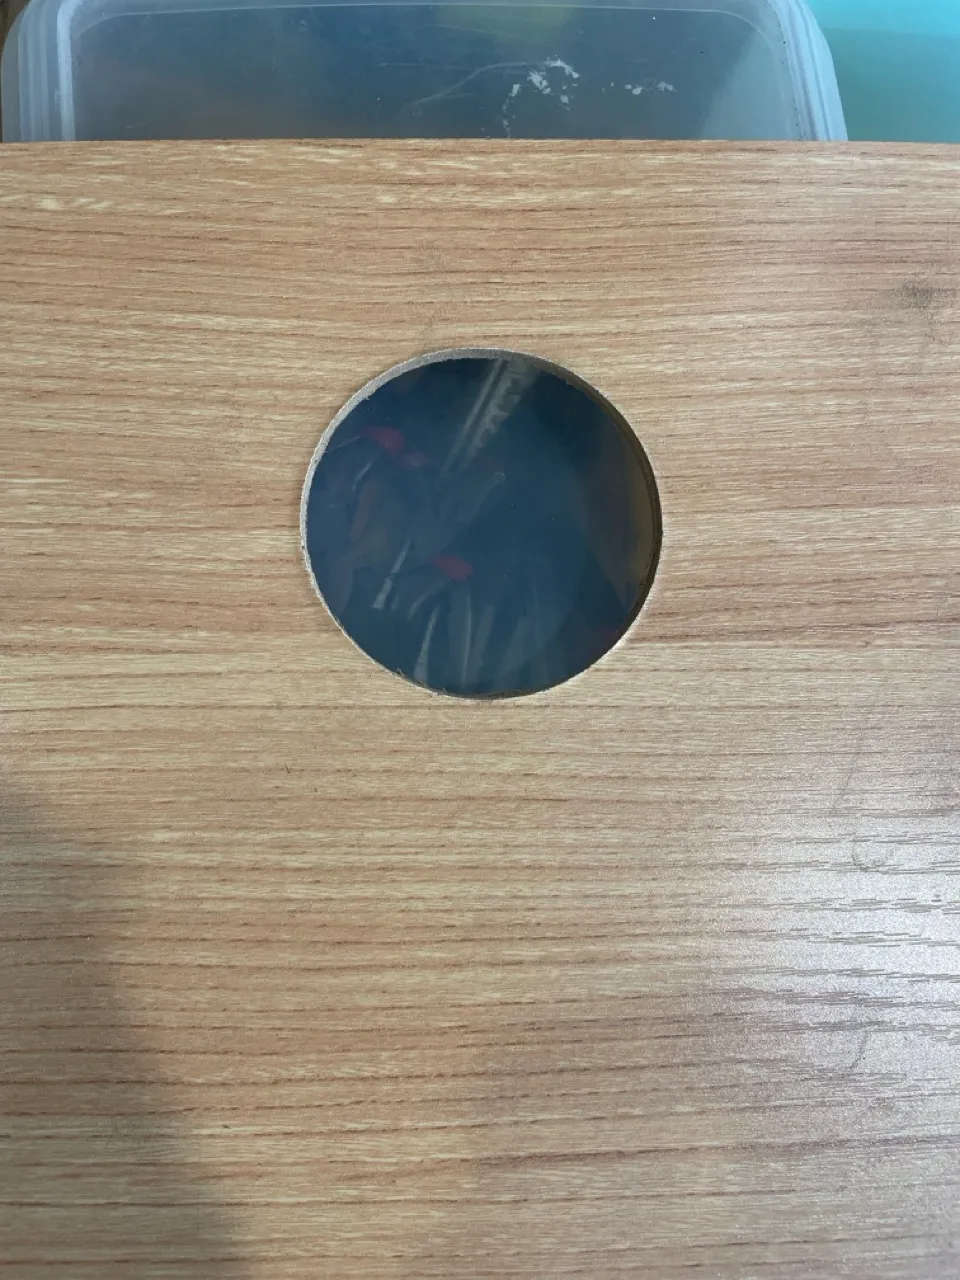
I lightly sanded the inside a using 120+ grit block to smooth out the cut on both sides, reducing the risk of cables being damaged.
Now to provide a clean finish, I couldn't use plain ol' sticky tape to cover the holes edges. Instead, I purchased a 60mm black grommet to fit in and safely hold all the wires & cables.
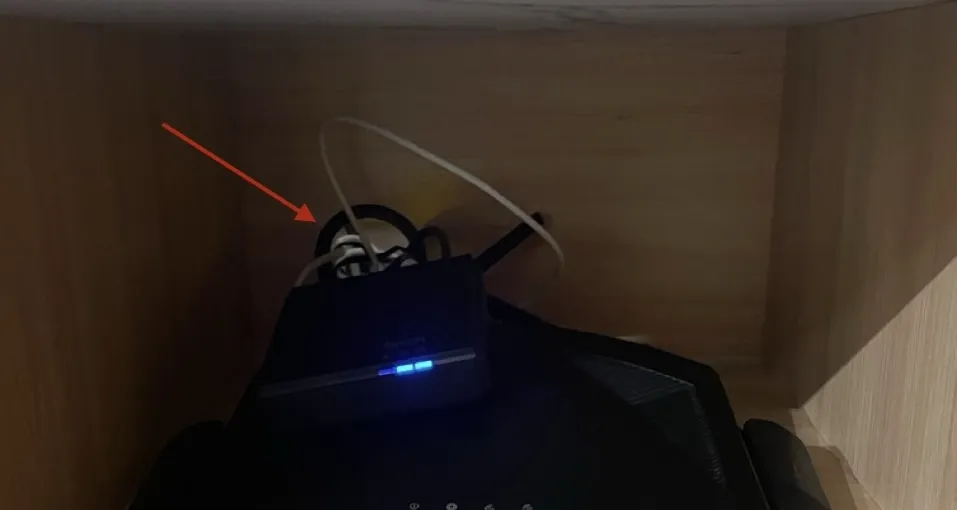
To wrap it up for this final job, I also purchased a 50cm HDMI & a 50cm CAT6 ethernet cable, helping to tidy up the many wires behind the cabinet.
Well, that all proved to be stress free. A lowered shelf, a new skill awakened and a handy drill bit. All I had to do was think of DYI as tech debt.